How to change an equipment belt on a ride-on mower
A worn or damaged belt can prevent your Husqvarna ride-on mower from cutting properly.
To keep your mower performing at its best, check the belt regularly.
If you notice cracks, fraying, or significant wear, replace it as soon as possible.
A broken belt will stop the cutting deck from working completely.
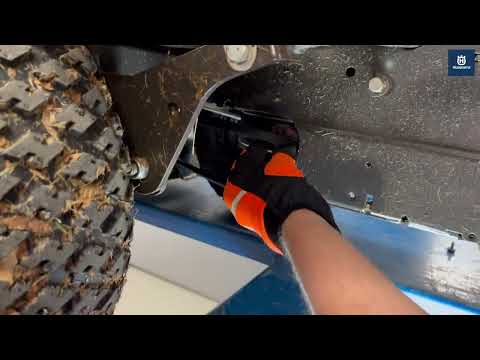
NOTE: The video instruction applies ONLY for R200!
Safety first
Before doing any maintenance, make sure your mower is safe to work on.
- Turn off the engine and remove the key.
- Allow the engine to cool down completely.
- Wear protective gloves.
Tools you will need
- Protective gloves
- A socket wrench
- A new replacement belt for your ride-on mower model
How to remove the equipment belt
- Lower the cutting deck.
- Remove the front cover using the supplied tool.
- Loosen the spring tensioner.
- Loosen the belt tensioner.
- Release the equipment belt.
- Pull the main belt off the intermediate pulley. The tension on the main belt loosens when the cutting deck is in the servicing position.
- Remove the equipment belt from the intermediate pulley.
How to install a new equipment belt
- Install the equipment belt from the front of the product.
- Place the belt into the bottom groove of the intermediate pulley.
- Place the spring tension back in its place.
- Put back the front cover.
- Return the cutting deck in the mow position.
Belt maintenance tips
- Check the belt regularly for cracks, fraying, or signs of stretching.
- Clean grass and debris from the belt and pulleys to prevent slipping.
- Make sure belt tension is correct—not too loose or too tight.
- Avoid mowing heavy, wet grass that puts extra strain on the belt.
- Store the mower in a dry place to prevent the belt from drying out or cracking.
- Replace the belt as soon as you notice visible wear.
Was this article helpful?
