How to tighten a chainsaw chain: Step-by-Step Guide
This guide helps your correctly adjust your Husqvarna chainsaw chain tension for safe, efficient cutting.
A loose or overly tight chain can cause poor performance, wear parts faster, and increase safety risk.
Why chain tension matters
Proper chain tension ensures:
- Safety: A loose chain can jump off the bar and cause injury; an overtight chain increases strain on the engine.
- Performance: Correct tension keeps cuts smooth and consistent.
- Longevity: Helps your bar, chain and drive components last longer.
Tools you will need
- Combination spanner (comes with many Husqvarna models)
- Protective gloves and eye protection
- Clean, dry workspace
Step-by-step instruction
1. Prepare the chainsaw
- Turn off the chainsaw and let it cool completely.
- Engage the chain brake. This prevents the chain from moving while you work.
- If you have a battery chainsaw, remove the battery.
2. Loosen the guide bar
- Use the combination spanner to loosen the bar nuts that secure the clutch cover.
- Don't remove the nuts - just loosen them enough so the bar can move slightly.
3. Adjust the chain tensioner
- Lift the tip of the guide bar slightly to take slack out of the chain.
- Turn the chain tensioning screw clockwise to tighten the chain.
- Turn slowly - over-tightening can damage parts.
4. Check correct tension
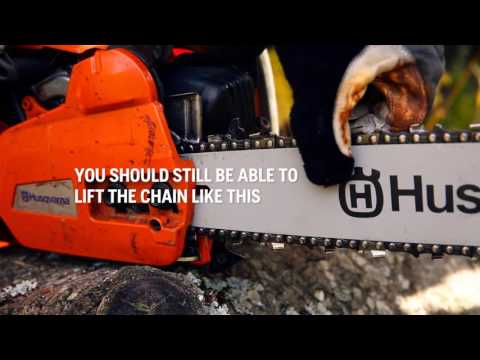
- The chain should not hang slack on the bottom of the bar.
- You should just be able to pull the chain around by hand with gloves on.
- If the chain won't move, it's too tight - back off slightly.
Good tension: chain snaps back into place without slack.
5. Secure and finalize
- Tighten the bar nuts again with the spanner once tension is correct.
- Release the chain brake and test the saw carefully before cutting.
Quick tension check - before every use
- Grab the chain in the middle of the bar - it should lift slightly.
- Chain should not sag or hang loose.
- If you see slack, tighten following the steps above.
Was this article helpful?
