
How-To's & Guides
How to trim a hedge
There’s something oddly satisfying about seeing hedges that are even and perfectly sculpted. Whether you’re dealing with an old, overgrown hedge or a brand new one, we’ve put together this easy-to-follow guide to help you make your hedge dreams blossom into life.

Tips for trimming a hedge
11 options
When should you trim hedges?
How often should you trim hedges?
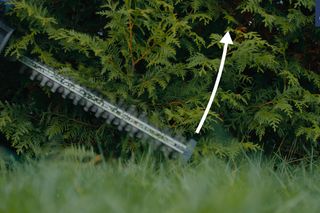
Where should you start and in what direction should you cut?
How much should you cut off in each pass?
How do I get my hedges to look square?
Do I need a chainsaw to trim hedges?
Can I renovate old hedges by trimming?
When should I trim a new hedge?
What safety features should I bear in mind when hedge cutting?
How do I maintain my hedge trimmer?
What are some of the features of Husqvarna’s battery-powered hedge trimmers?